
| Quantity | 3+ units | 10+ units | 30+ units | 50+ units | More |
|---|---|---|---|---|---|
| Price /Unit | $73.45 | $71.95 | $69.70 | $66.71 | Contact US |
 Simplayer Game Controller Converter Supports for PS3/PS4/X1/X360 Gamepads Used on NS Game Consoles
$55.74
 Simplayer NB Adapter Racing Adapter for G25/G27/29 Sim Shifters Pedals and Thrustmaster Pedals
$32.81
 Original CSL Elite Steering Wheel WRC Direct Drive Steering Wheel Sim Racing Wheel for Fanatec
$502.61
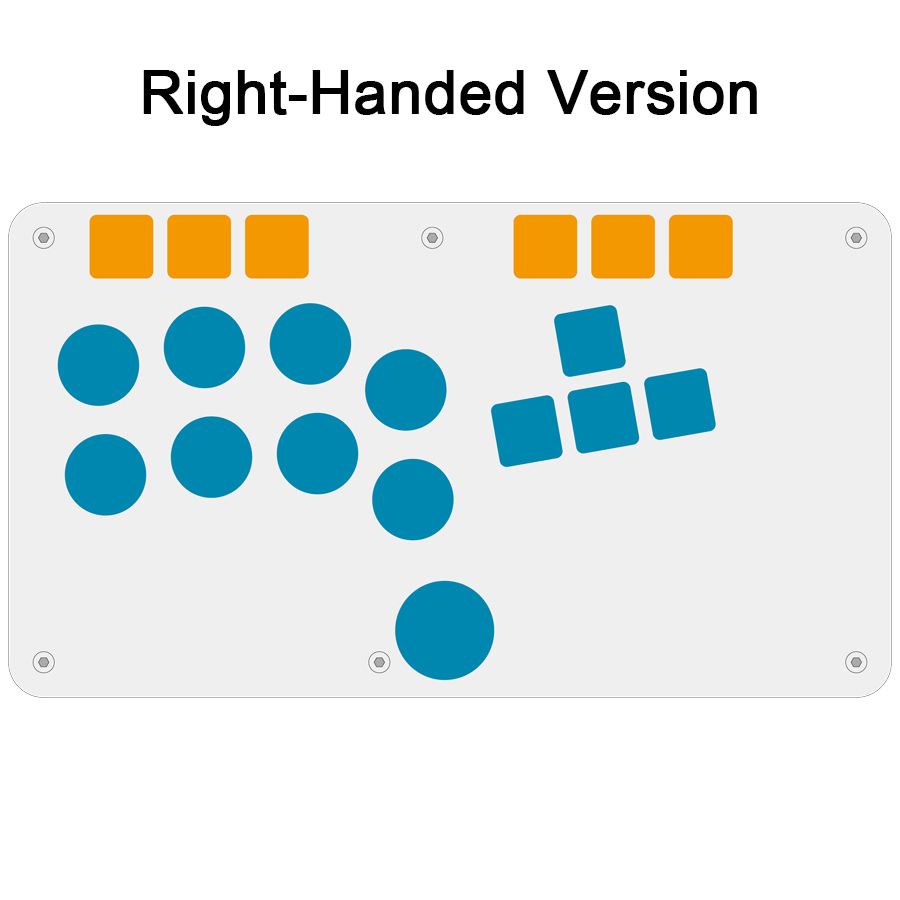
Right-Handed WASD Arcade Controller Fight Stick Game Controller for Hitbox Mixbox Fighting Game
Features:
-
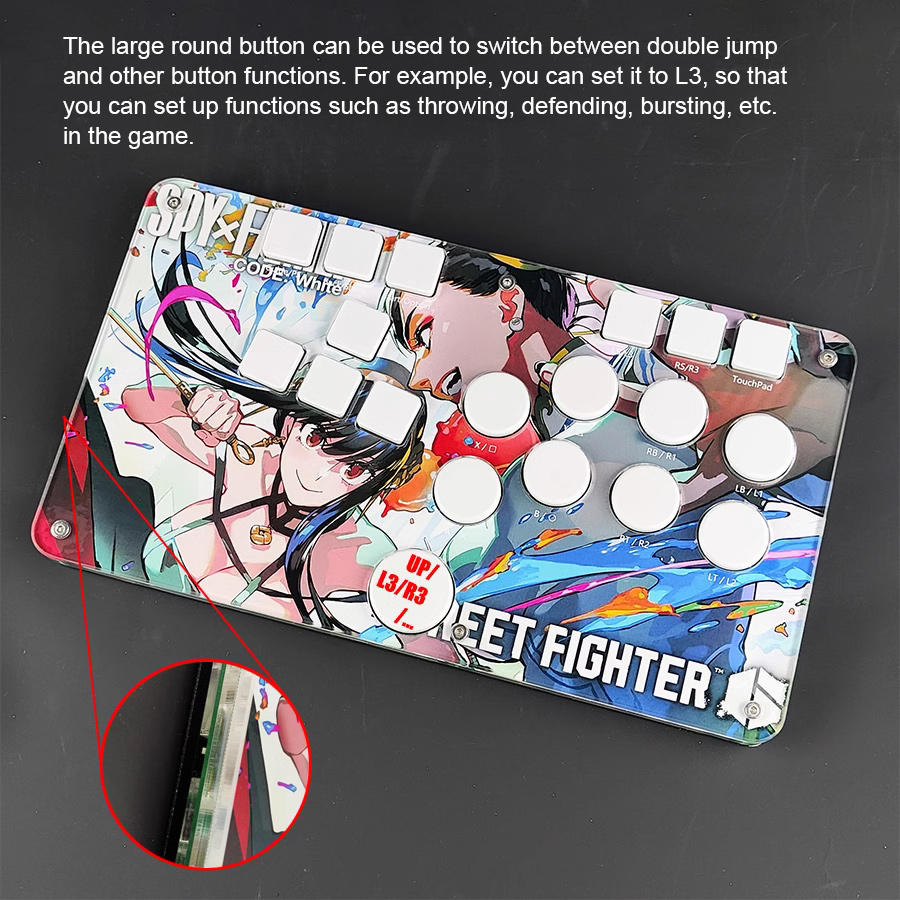
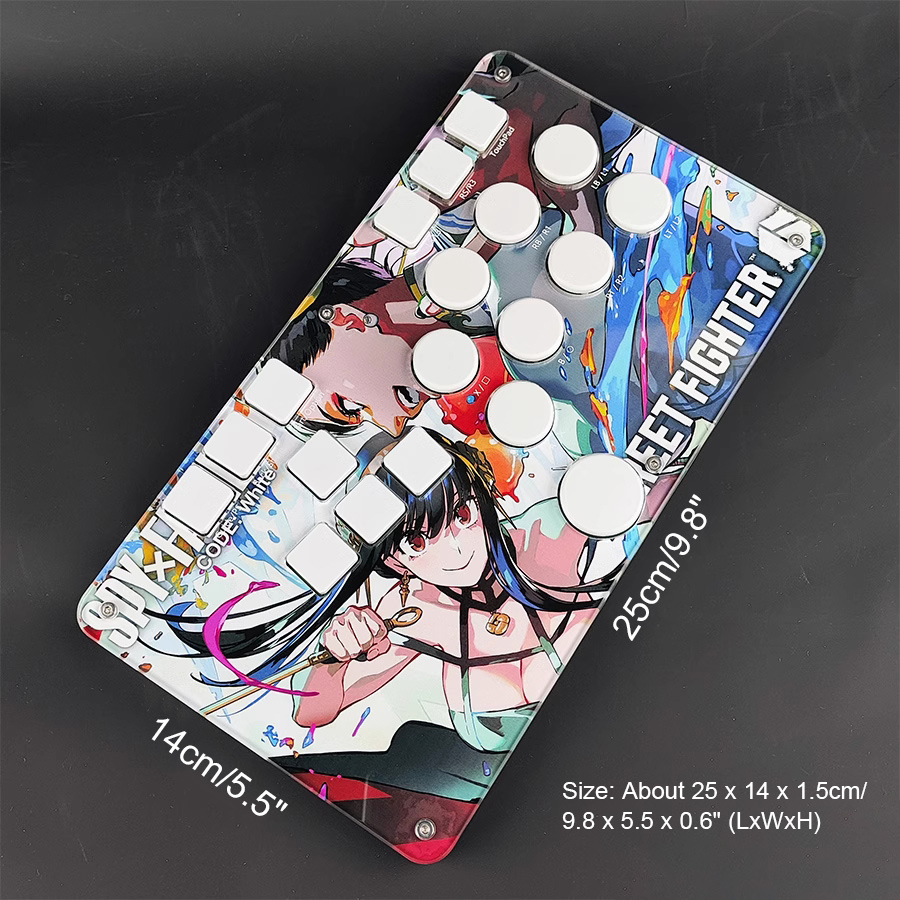
The large round button can be used to switch between double jump and
other button functions. For example, you can set it to L3, so that you
can set up functions such as throwing, defending, bursting, etc. in the
game.
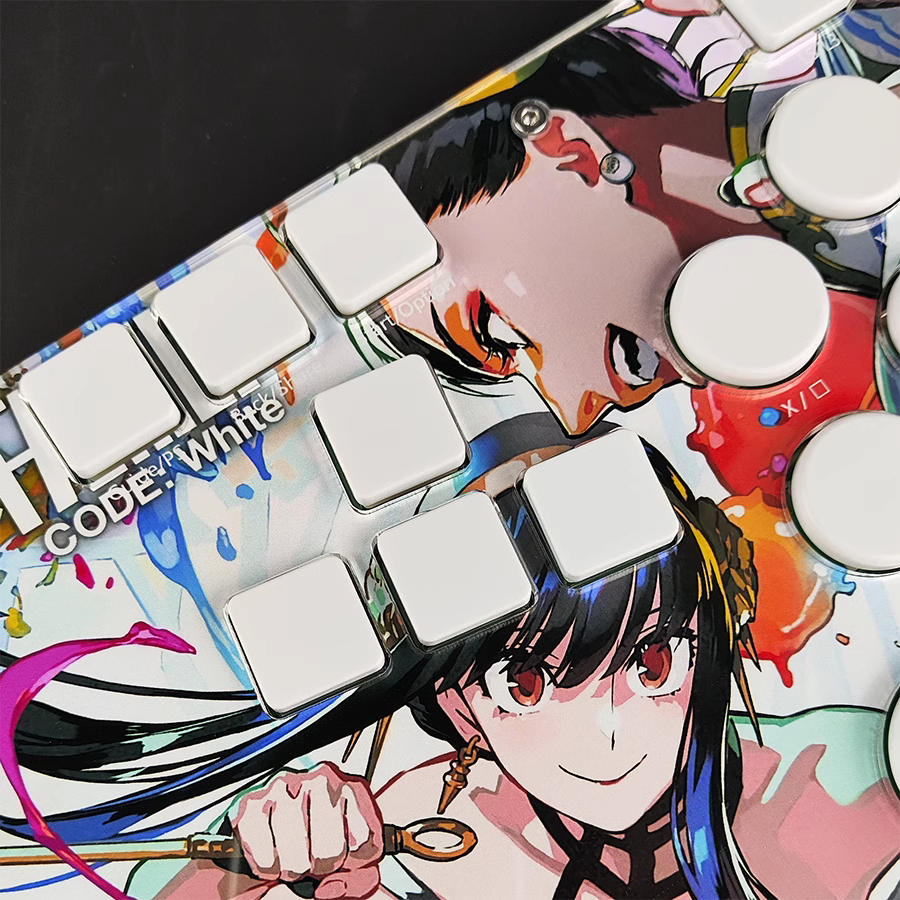
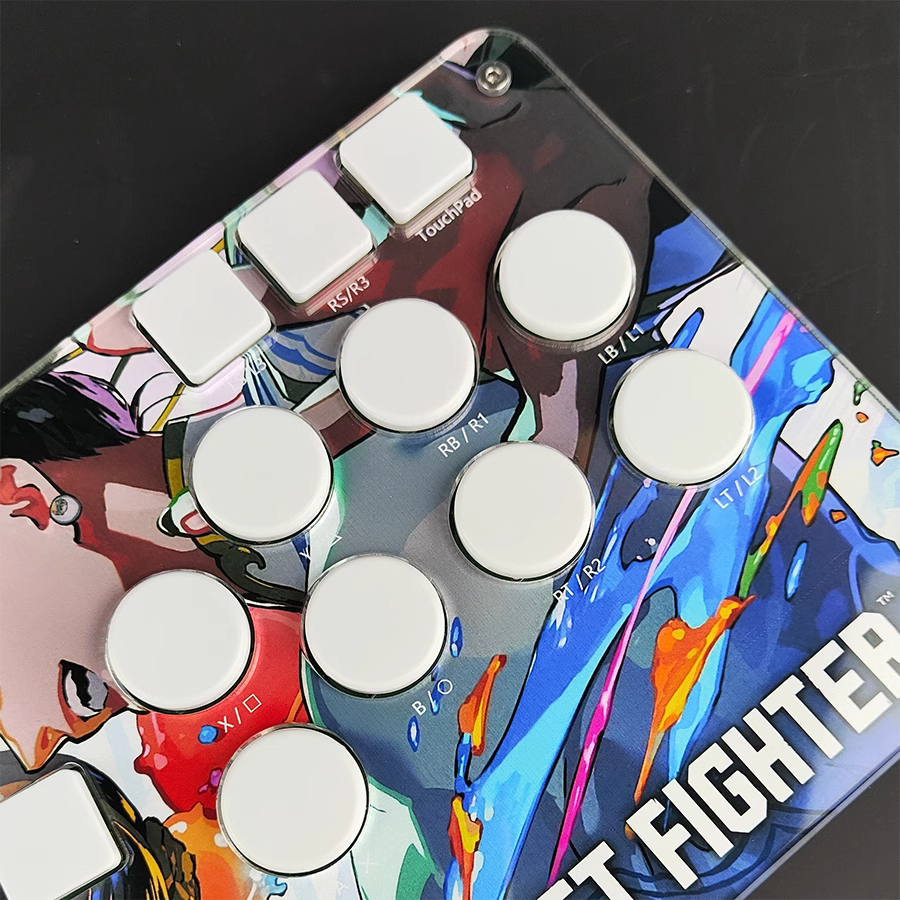
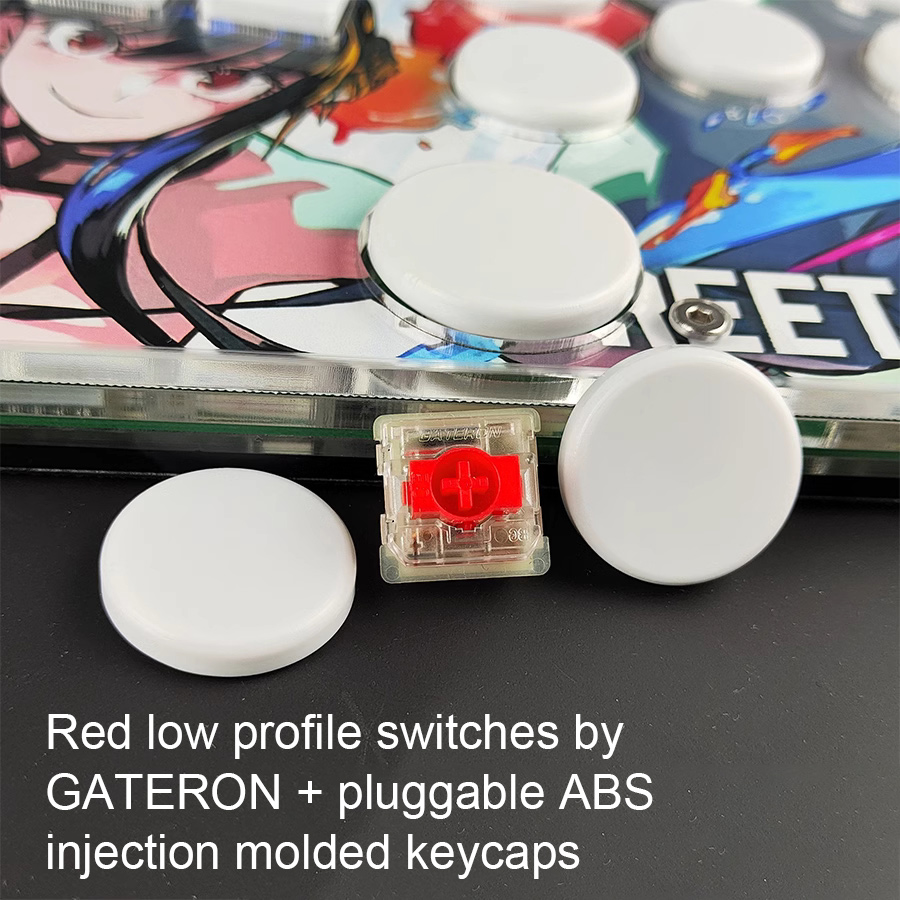
- Red low profile switches by GATERON and pluggable ABS
injection molded keycaps are used. It is smooth to use. The dynamics are
moderate and the sound is low.
- Size of the gaming controller: About 25 x 14 x 1.5cm/9.8 x 5.5 x 0.6" (LxWxH).
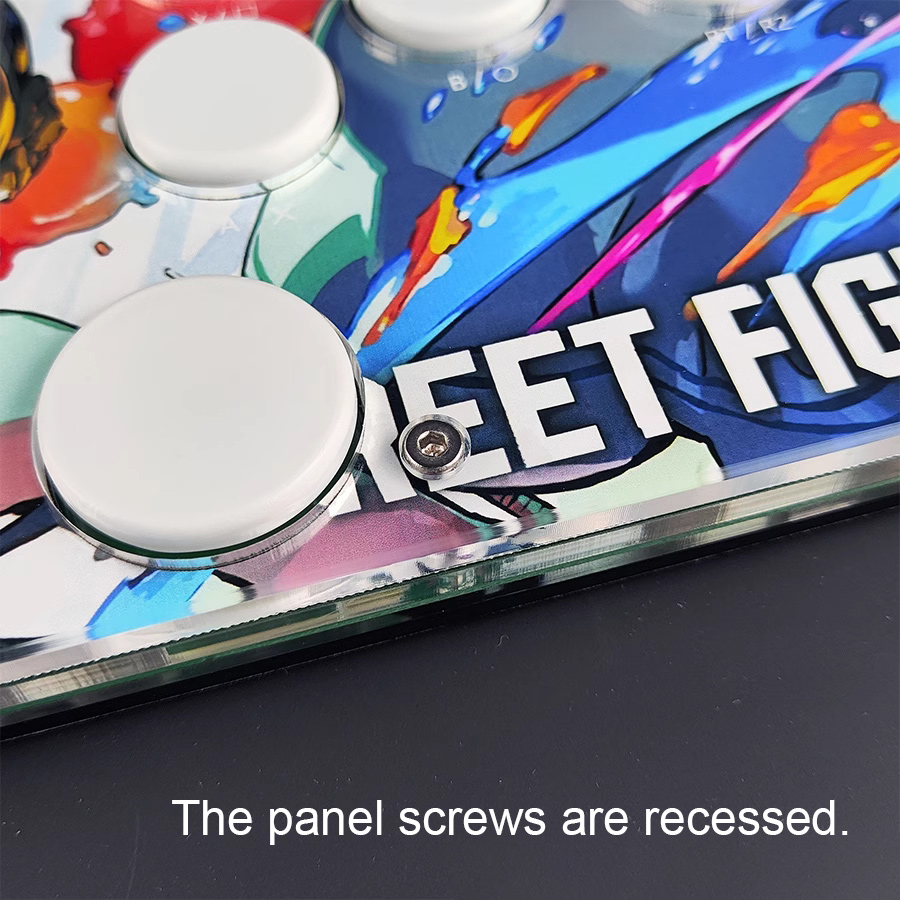
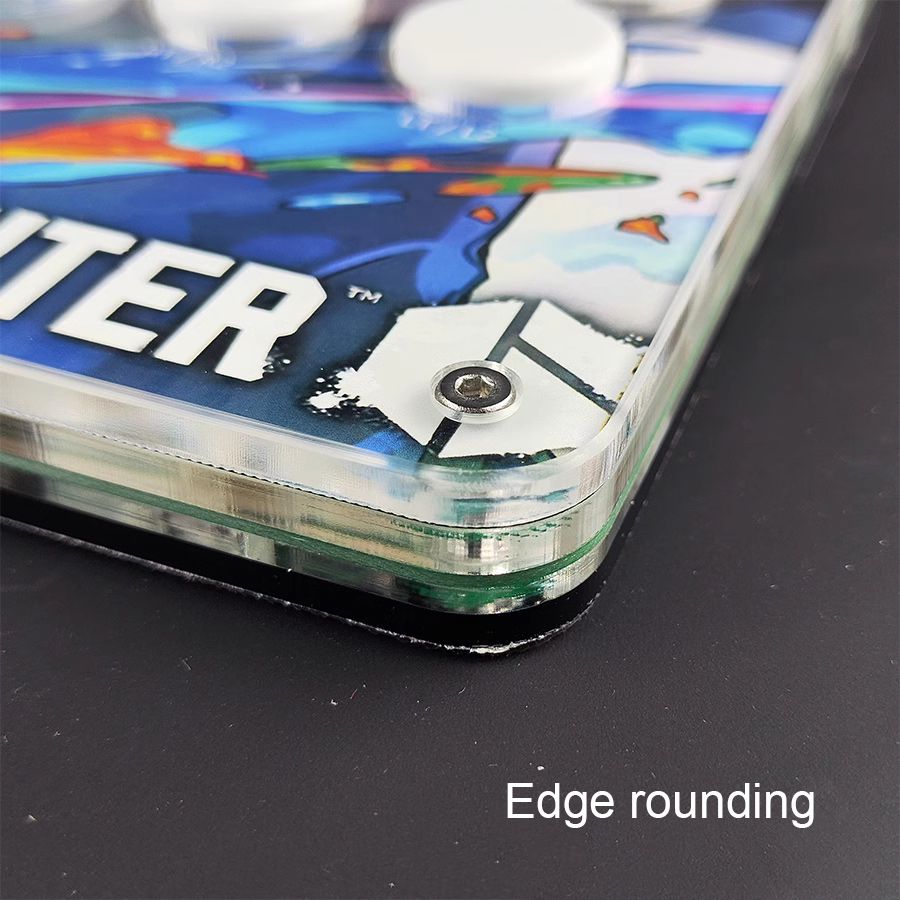
- The panel screws are recessed and edge rounding
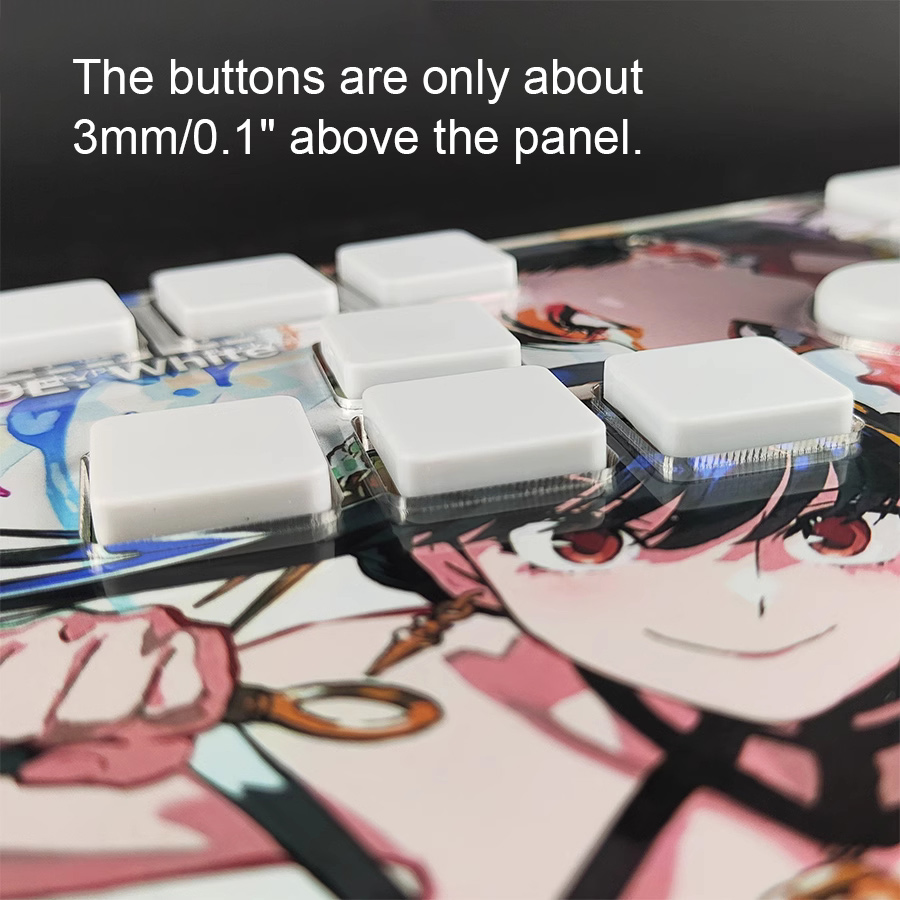
- The buttons are only about 3mm/0.1" above the panel.
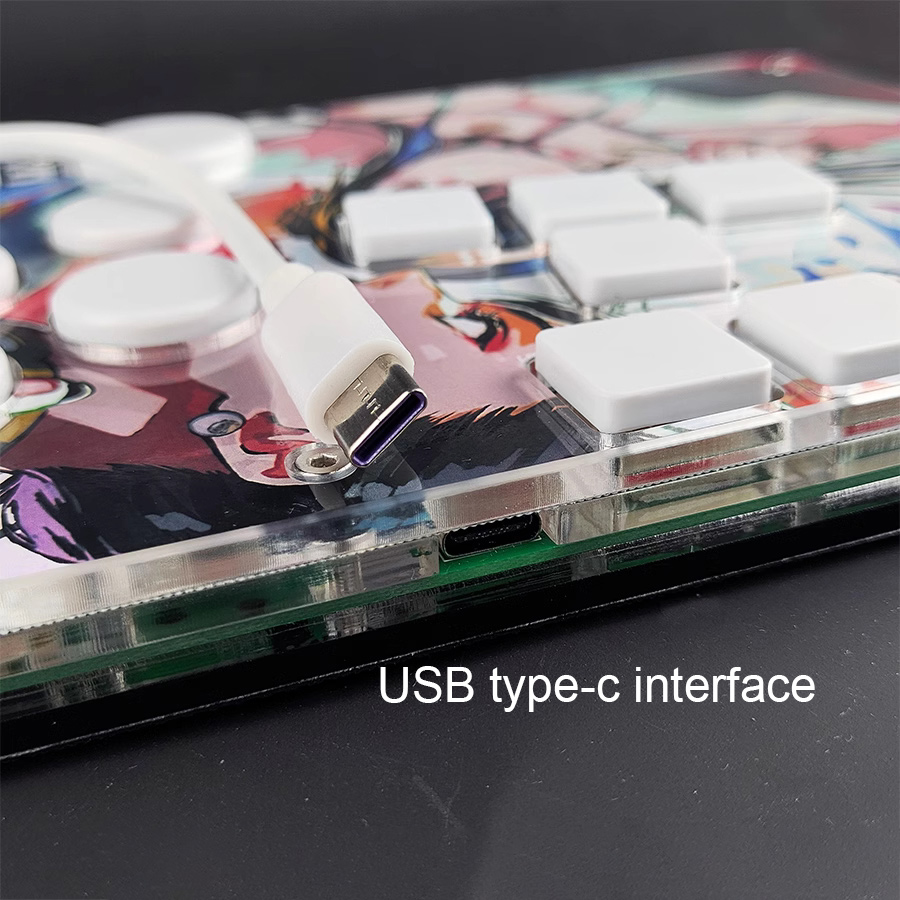
- With USB type-c port
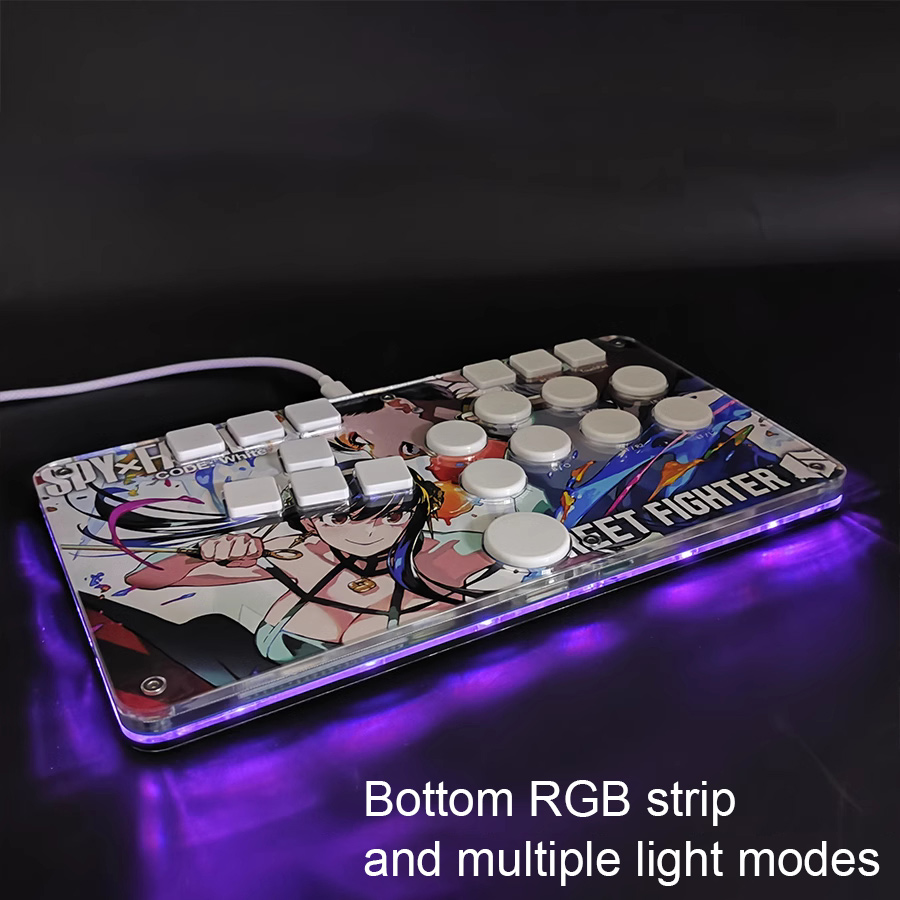
- The bottom with RGB strip. Multiple light modes are supported
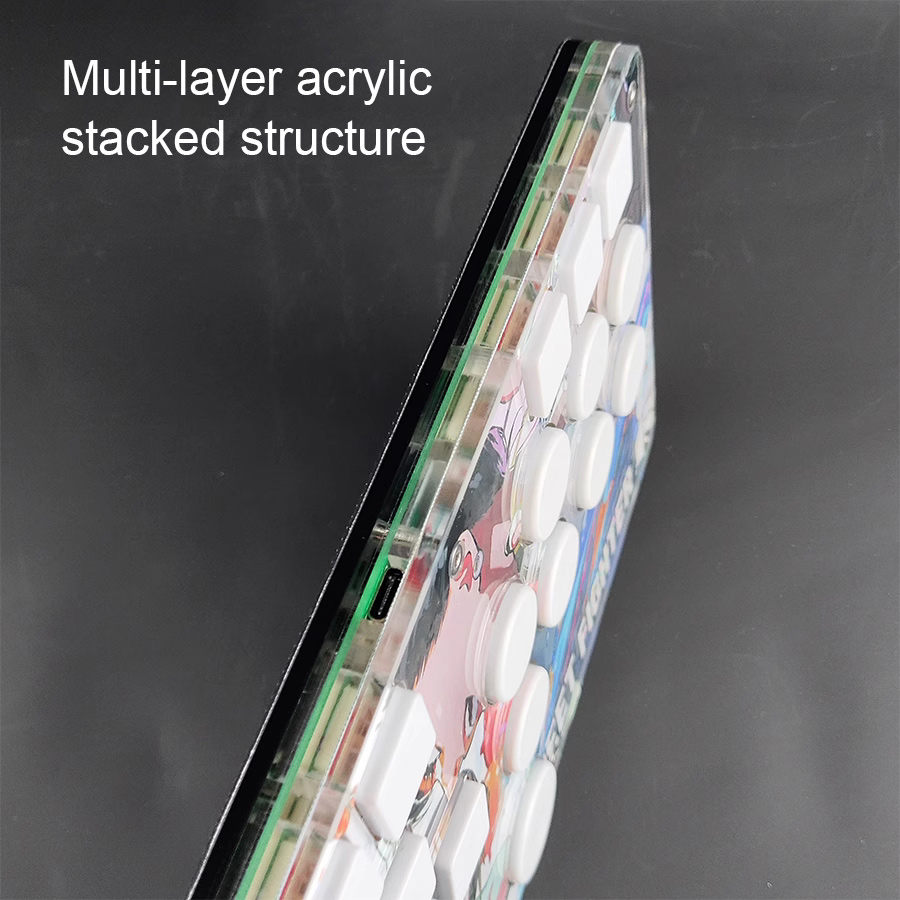
- Multi-layer acrylic stacked structure
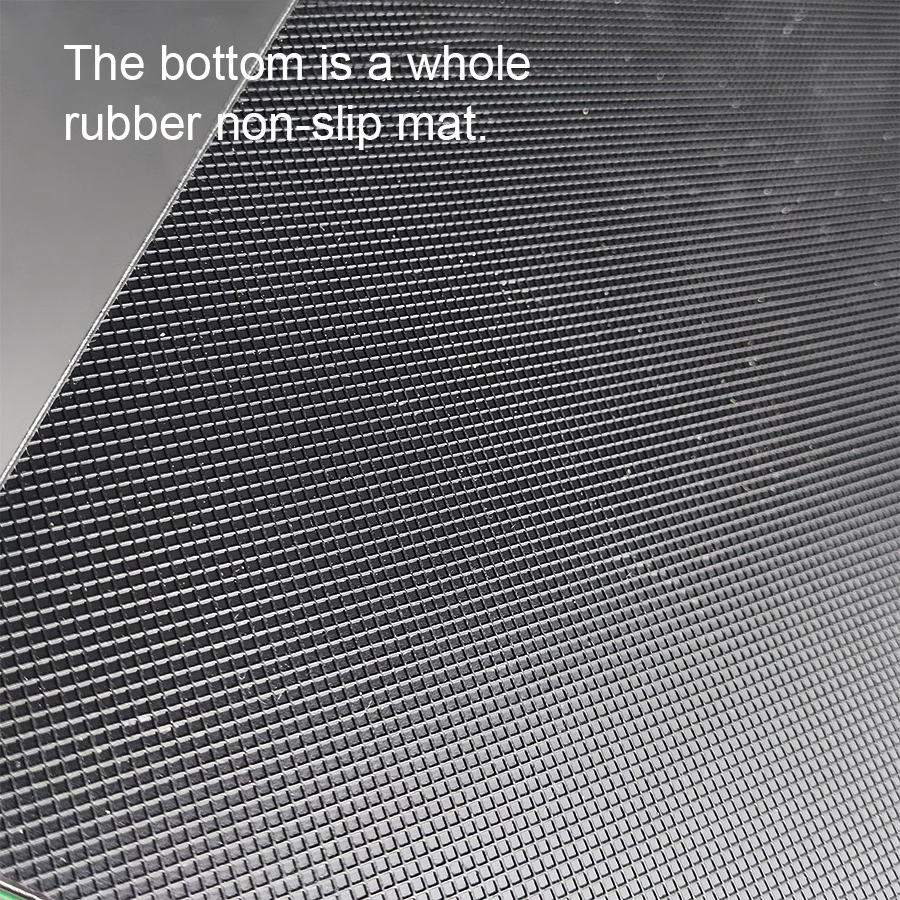
- The bottom is a whole rubber non-slip mat
Package Included:
- 1 x Game Controller
Packaging Details:
- G.W.: 0.8kg
Note:
- USB cable is not included in the package.
- Panel sticker pictured is not included, for demonstration purposes only. Thank you for your understanding!
How to Use:
1. Connect to Different Game Consoles:
Computer
host: Press and hold the button B on the game controller, then connect a
data cable to the computer, and release the button B. When you use your
computer for the first time, drivers will be automatically installed.
Then in Devices & Printers, you'll see a controller for Xbox360,
where you can test the keys. For PS4: Press and hold the button Y on the
game controller, then plug the data cable into the console for PS4 and
release the button Y. Then press the button PS on the game controller,
and the game controller can be used normally.
The following corresponding buttons correspond to different game consoles:
A = Switch, B=Xinput (for PC Xbox360) , RT=Keyboard (PC keyboard), X=for PS3, Y=for PS4
(Note: The device has a memory function. The next time you connect it to the same game console, you don't need to switch. )
2. Last Input Priority:
In the process of use, players can directly switch to the Last Input Priority mode at any time.
Press Guide + Start + Down at the same time, and it will be standing (default mode).
Press Guide + Start + Up at the same time, and it will be up (jump) priority mode.
Press
Guide + Start + Left at the same time, this is the last input priority
mode. (Press and hold "up (jump)" and then "down (crouch)". These two
buttons are not released at the same time, and this is the state of down
(crouch) because down (crouch) is the rear input. And the left and
right directions are the same.) Note: The last input priority mode has a
memory function. Thus, it only needs to be set once, and does not need
to be reset before each use.
3. Switching of controller left & right stick and DP modes:
These three modes can be switched at will when it is used.
D-Pad mode (default): Press Back + Start + Down at the same time.
Left stick: Press Back + Start + Left at the same time.
Right stick: Press Back + Start + Right at the same time.
For
example, if you use an emulator for WinKawaks to play arcade games.
Then you need to switch the mode to the left stick mode for the emulator
to recognize the direction.
4. Change bottom RGB lighting effect:
Press Back + Start + X/□ at the same time to switch between different lighting effects.