Tags: Soldering Iron Station
| Quantity | 3+ units | 10+ units | 30+ units | 50+ units | More |
|---|---|---|---|---|---|
| Price /Unit | $46.76 | $45.80 | $44.37 | $42.46 | Contact US |
 1PCS 3-Meter LC-LC Dual Core Multi-mode OM4 Optical Fiber Cable High Quality 10-Gigabit Optical Fiber Jumper
$30.38
1PCS 3-Meter LC-LC Dual Core Multi-mode OM4 Optical Fiber Cable High Quality 10-Gigabit Optical Fiber Jumper
$30.38
 1PCS 2-Meter LC-LC Dual Core Multi-mode OM4 Optical Fiber Cable High Quality 10-Gigabit Optical Fiber Jumper
$24.03
1PCS 2-Meter LC-LC Dual Core Multi-mode OM4 Optical Fiber Cable High Quality 10-Gigabit Optical Fiber Jumper
$24.03
 12V Dual Core Semiconductor Cooler Kit Water Cooling Thermoelectric Peltier Refrigerator System DIY
$24.29
12V Dual Core Semiconductor Cooler Kit Water Cooling Thermoelectric Peltier Refrigerator System DIY
$24.29

Attention: Voltage:110V/220V (optional),please leave a message.
Special note: soldering station,the default is not grounded,such as the need to ground on their own.(Handle to the machine on the line is connected, need the five-core and ground wire on the line.T12 + and sleep the middle of the two pins)
New solder iron T12 tip need to set the temperature to below 250 for tin protection
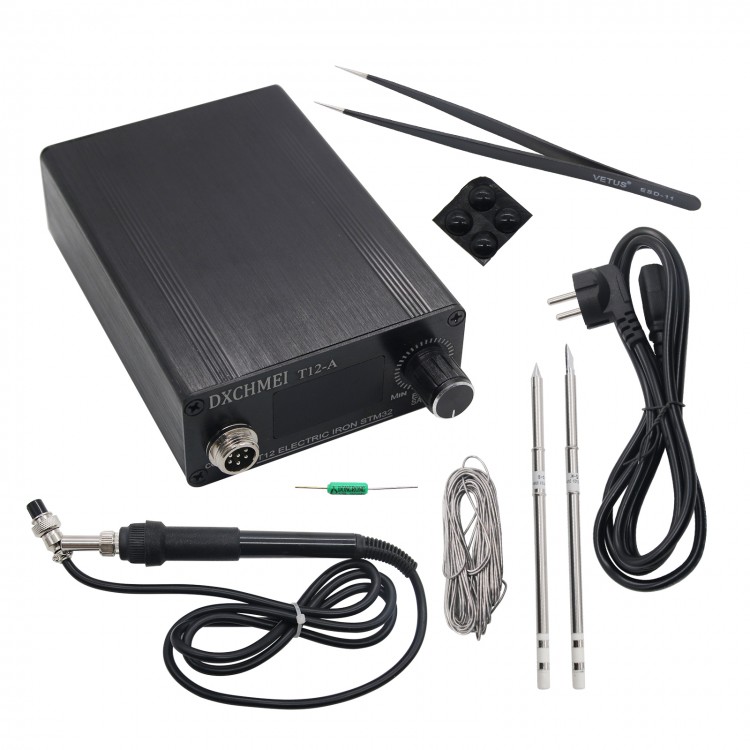
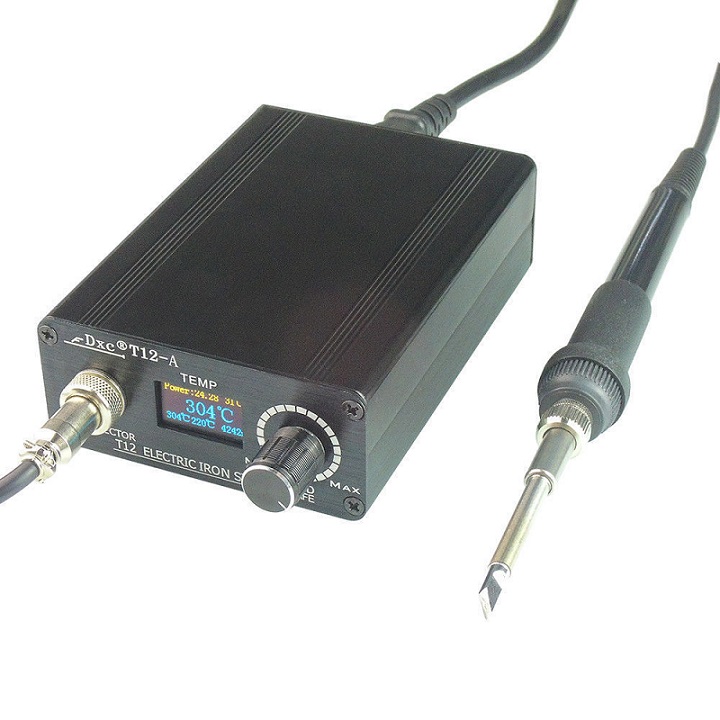
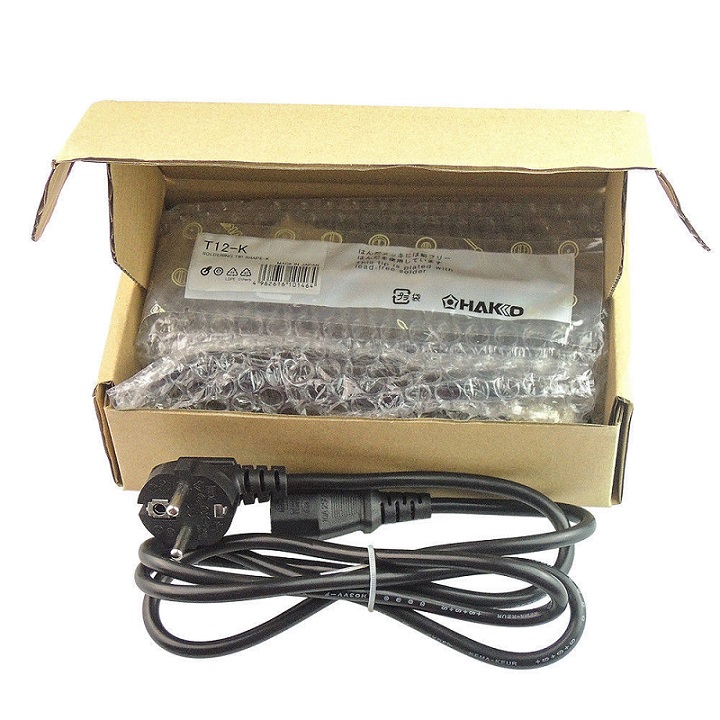
The Package listing as the main photo shows all diy kit(aluminum alloy shell with handle and tip and with new power suppply)
The kit is a DIY finished product,T12 tip will be different from the random purchase, T12 tip can be used for HAKKO T12 handle, quality assurance,customers can rest assured to buy.We are the DIY kits,not HAKKO products.
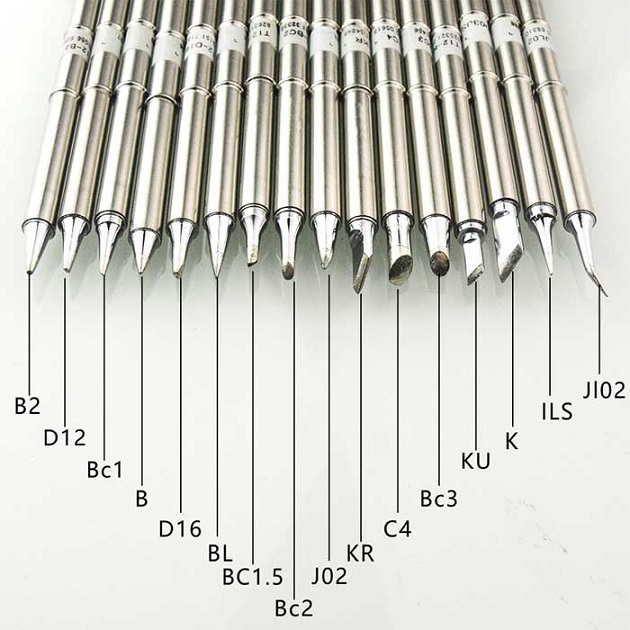
We will send T12 Soldering Tip T12-K and if you want other tip in the following photo,you can left the message for me.We will send that for you(instead of the standard T12-K tip).
Feature:
- Working voltage: AC 100V-240V
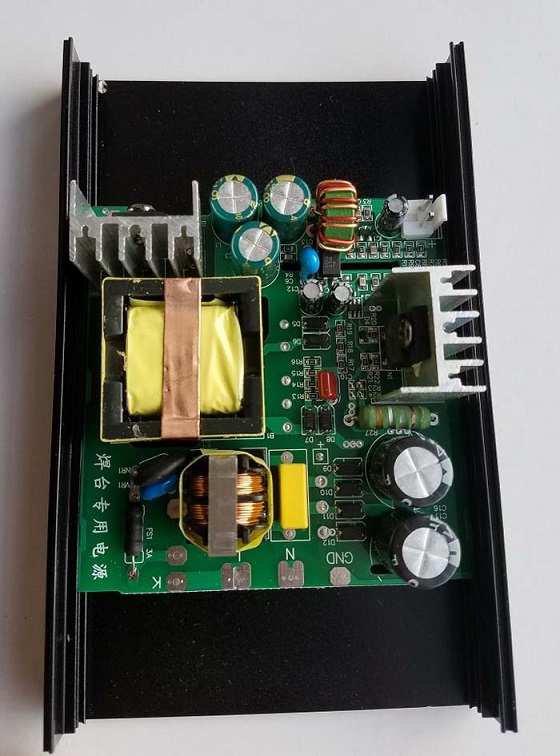
- Output power :24V 4.5A ,Max75w (with new power supply,the inside photo is like the following photo,is much better than 24V 4A 6A power - Supply switching transformer)
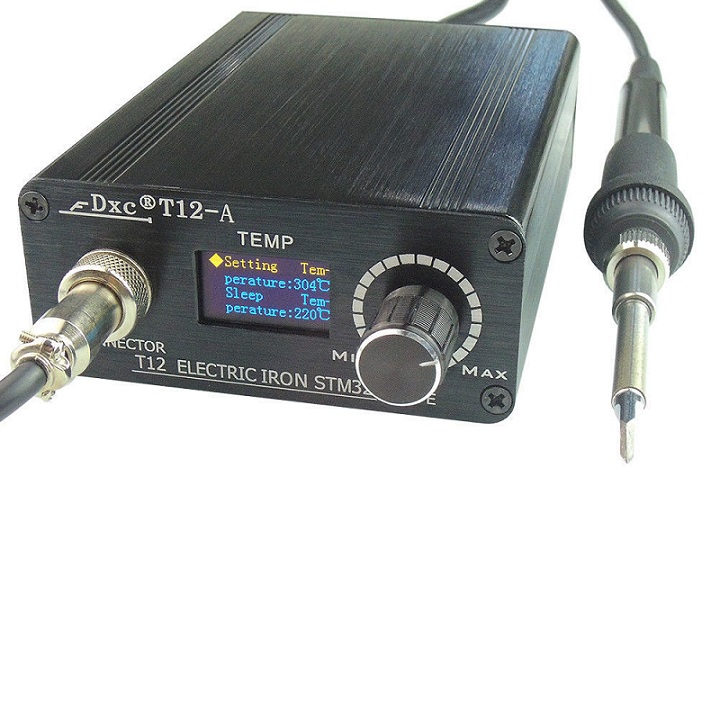
- Temperature setting range: 150 --465 degrees (we suggest not use 300 to 380 degrees for long term use)
- Sleep time: 1 to 255 minutes (recommended range 5 to 20 minutes)
- Sleep temperature: 100 to 445 degrees (recommended range of 100 to 200 degrees)
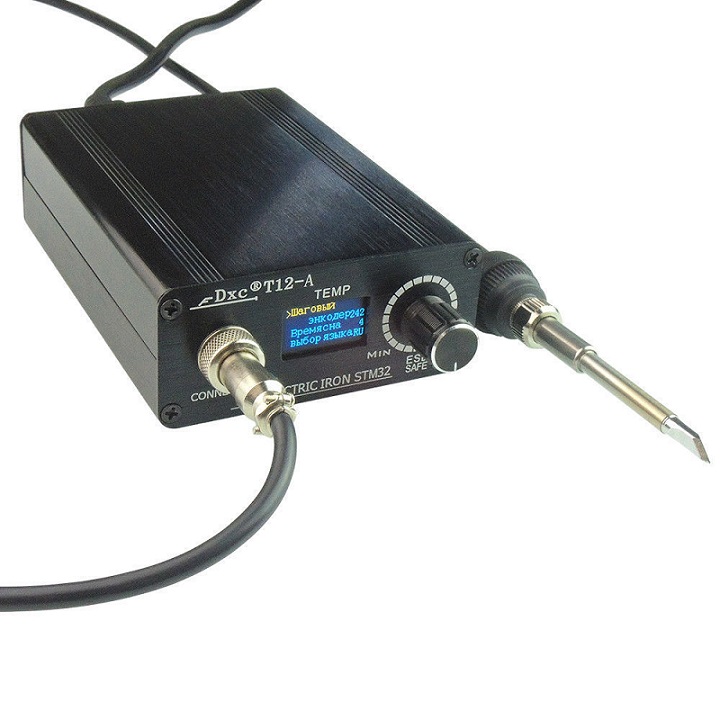
- Encoder step: 1 to 99 (recommended range 1 to 10)
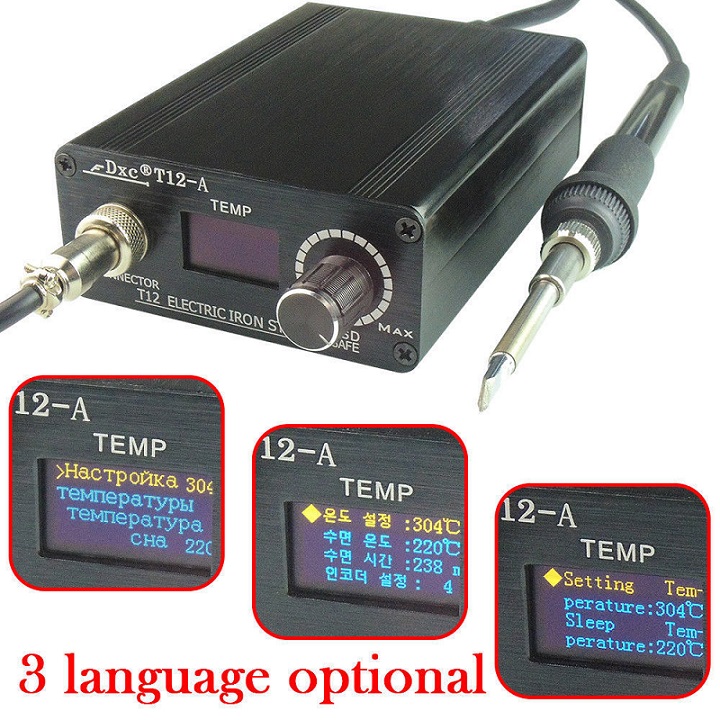
- Language selection: Chinese, English, Russian, Korean optional
- Calibration parameters: 0.1 to 2.55 (the smaller the value of the higher the temperature, the greater the value of the higher the higher the temperature, after a good calibration between 0.6 and 1.0)
- Shutdown time: 1 to 255 minutes (recommended range 5 to 20 minutes)
- Automatic warming: welding station will be in response to large solder joints, to strengthen the solder joint temperature to quickly heat up welding
- Room temperature detection: detection of room temperature, so that the temperature is accurate, welding temperature effect is good
Other Note:
- The handle line must not be mixed with other digital soldering station (because the pin may not be the same definition), and must be connected to the power after the power,do not hard plug, to be aligned to re-insert. Because if the wrong plug 24V into the dormant feet will burn the microcontroller. (The new version has increased the protection function, the general situation even if the wrong plug will not burn the soldering station)
- Although the soldering station is antistatic, it is recommended to have a good grounding when welding more expensive items.
If you really can not ground,here are a few small methods for your reference.
1.Welding the bottom of the pad a piece of insulation board, so even if the power leakage but because it is floating so it will not burn pieces.
2.The best before the first on the hands of the discharge, touch the water pipe or something, or wear anti-static gloves.
3.Before welding with a wire to connect the tip and the circuit board to be ground, reduce the potential difference.
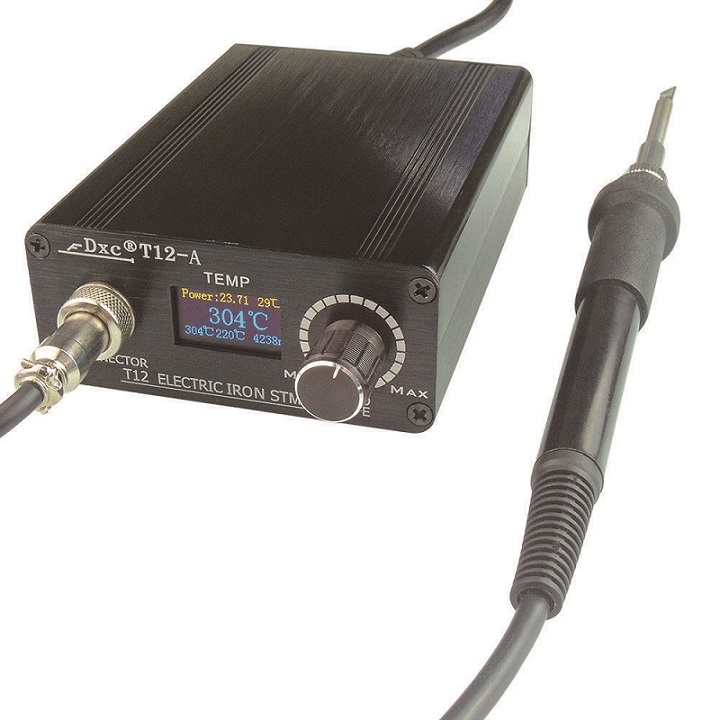
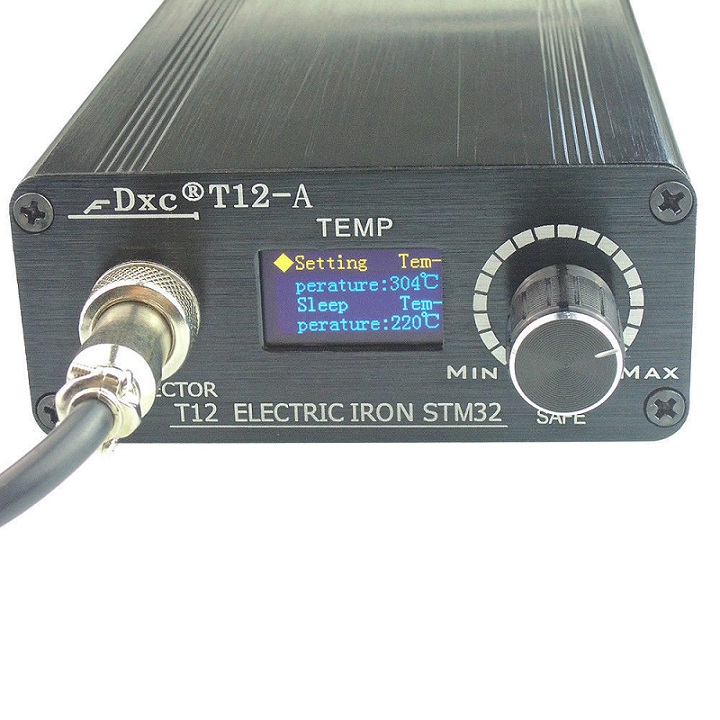
OLED version of the instructions:
- In the temperature display interface, press the encoder key for about 2 seconds (hear a beep after let go), will enter the settings and calibration of the total menu, (Default password 000)
- Turn the encoder to move to the item you want to set, then press the key to enter the corresponding setting item. Turn the encoder to change the settings, then press the button to return to the main menu. Press and hold 3 seconds on any page (hear the beep once) and exit the working interface.
- You can change to Russian English and Korean language.
Package List:
- 1 x OLED digital controller with aluminum case with new power supply
- 1 x T12 handle
- 1 x T12-K tip
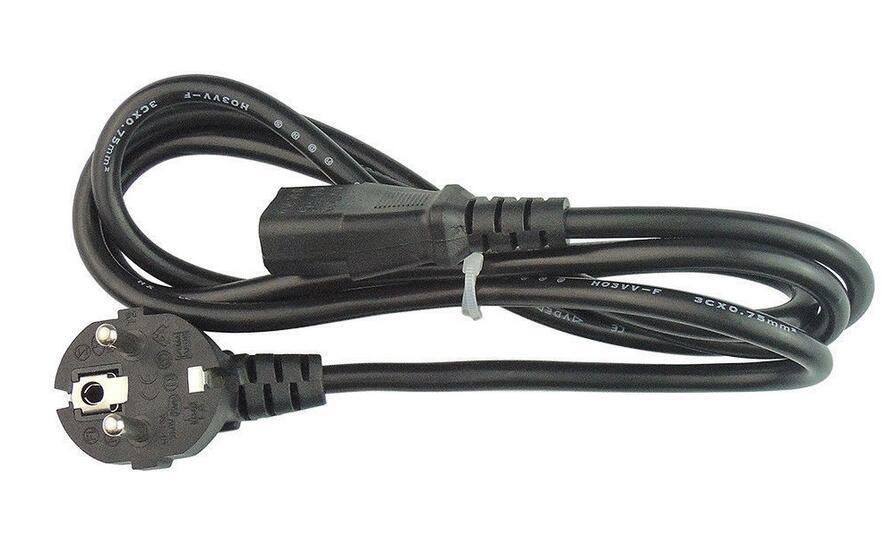
- 1 x EU plug power cable