| Quantity | 3+ units | 10+ units | 30+ units | 50+ units | More |
|---|---|---|---|---|---|
| Price /Unit | $30.09 | $29.47 | $28.55 | $27.32 | Contact US |
 AD2S1210 N1 16Bit R/DC High Performance Resolver Transformer Demodulation Module 15.8Vpp Excitation Amplitude
$77.75
AD2S1210 N1 16Bit R/DC High Performance Resolver Transformer Demodulation Module 15.8Vpp Excitation Amplitude
$77.75
 GC-1201S Two-master One-slave Isolated RS485 Hub Repeater Double Electrical Isolation with 12V Power Supply
$36.58
GC-1201S Two-master One-slave Isolated RS485 Hub Repeater Double Electrical Isolation with 12V Power Supply
$36.58
 GC-1201S Two-master One-slave Isolated RS485 Hub Repeater Double Electrical Isolation Support for Modbus Protocol
$33.75
GC-1201S Two-master One-slave Isolated RS485 Hub Repeater Double Electrical Isolation Support for Modbus Protocol
$33.75
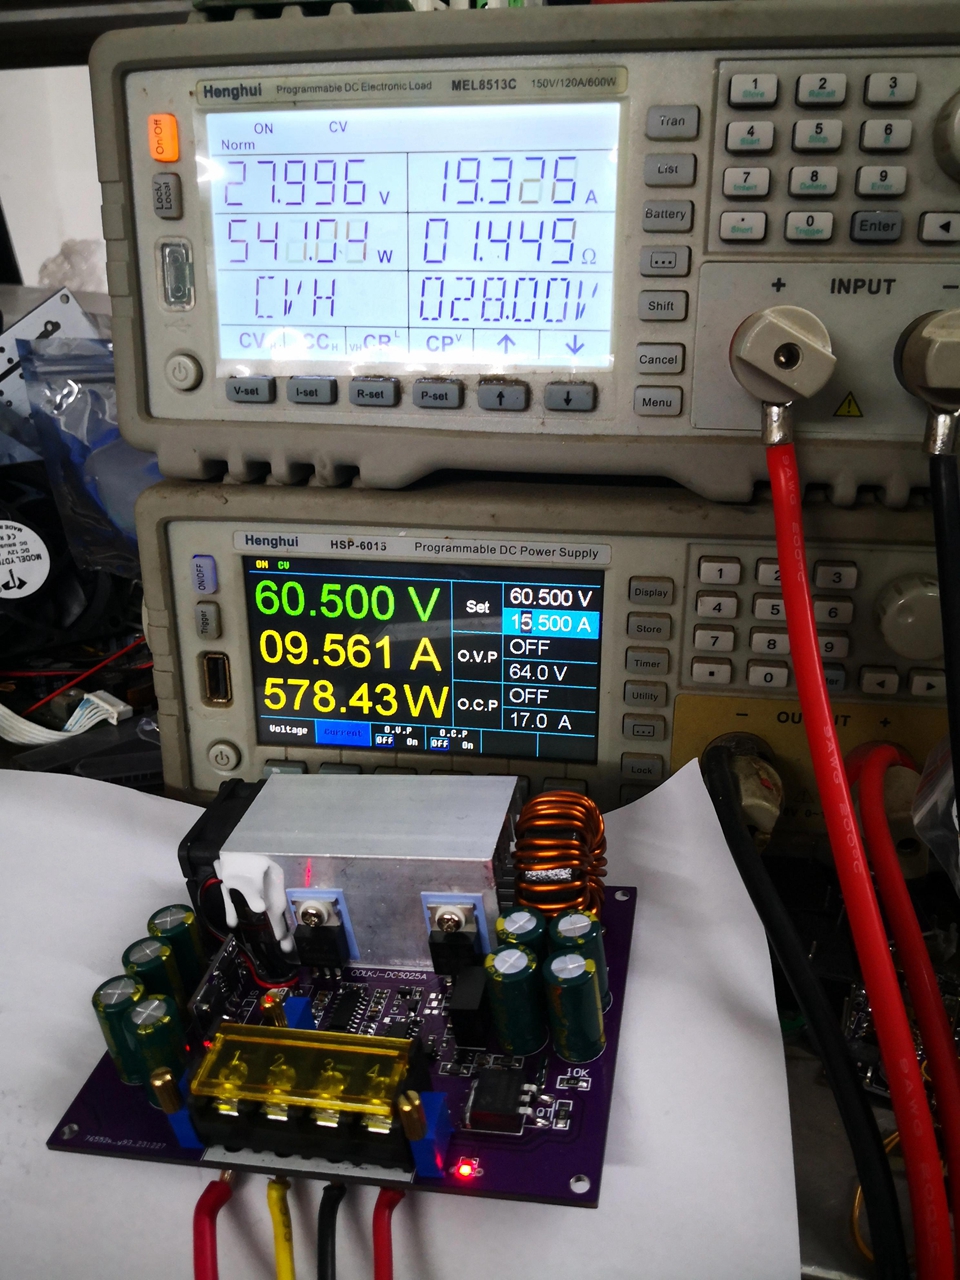
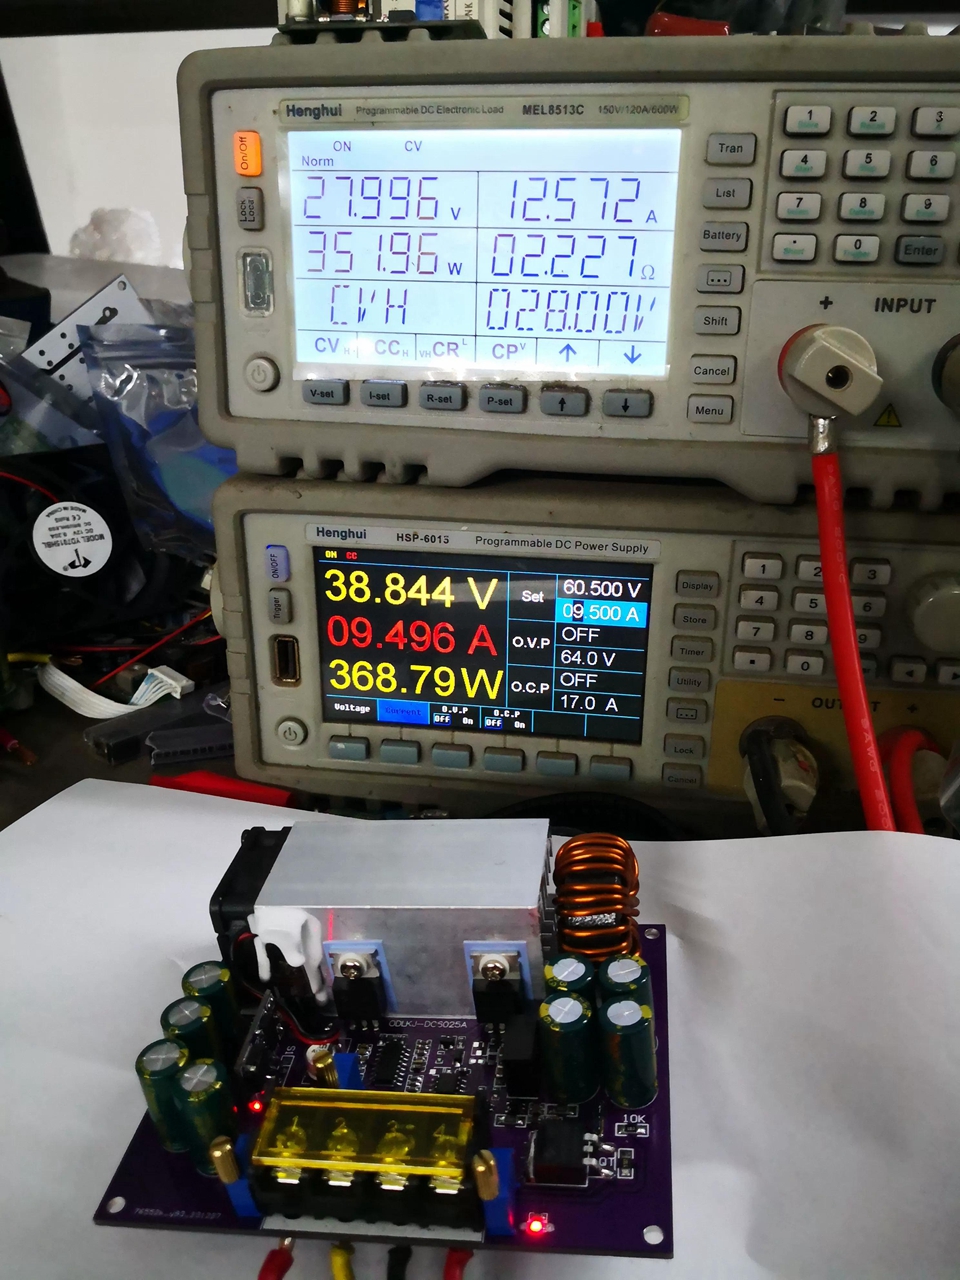
800W 12-48V 25A MPPT Solar Charging Module DC Buck Converter Power Supply Module with Heat Dissipation Fan
Precaution:
- This is a step-down controller. Considering the voltage drop of the photovoltaic panel wires and the low voltage of the photovoltaic panel on rainy and cloudy days, the open circuit voltage of the photovoltaic panel when charging a 12V battery must be higher than the 30V input. At least two 18V photovoltaic panels should be connected in series. For example, 30V-72V charging for 12V, 42V-80V charging for 24V.
Features:
- Input voltage 36V-90V, output 2V-60V.
- Output current 0-25A adjustable output current limiting short circuit protection.
- Daytime standby power consumption of 0.9W, automatic backflow prevention at night, 0 power consumption.
- No activation of lithium batteries, unmanned automatic charging.
- It can be charged even in cloudy and rainy days, and automatically charges for lack of electricity and stops when fully charged.
- Supports adaptive 5W-800W photovoltaic panels.
- Automatic temperature control fan for heat dissipation.
- Supports DC-DC stabilized power output function and can directly carry load.
- The output comes with a high current ideal diode function, which can be directly used to charge the battery without the need to connect diodes in series.
- It can be used as a voltage reducing and adjustable power supply.
Debugging Method:
- First connect the 16V-80V photovoltaic panel input (overvoltage input is prohibited, and attention should be paid to the positive and negative poles). The power indicator light should be on when the wiring is correct. And the output indicator light will light up, directly jump to step 3
- If the power indicator light is on but there is no output voltage after connecting the input, the VMPPT potentiometer needs to be adjusted counterclockwise until there is voltage output, and the output indicator light is on.
- Charge 12V and adjust the output to 14.2V; Charge 24V and adjust output to 28.4V; Charge 48V and adjust output to 56V
- Connect the battery: Test the input voltage with a multimeter, adjust the MPPT potentiometer so that the input voltage is equal to the maximum power point voltage of the photovoltaic panel (i.e. the working voltage of the photovoltaic panel).
- Precaution:
A 18V photovoltaic panel with a single string open circuit voltage of around 21V and a working voltage of 18V.
A 36V photovoltaic panel with a single string open circuit voltage of around 43V and a working voltage of 36V.
A 43V photovoltaic panel with a single string open circuit voltage of around 49V and a working voltage of 43V.
There are differences in the specifications of photovoltaic panels, which can be set according to the label parameters on the back of the photovoltaic panel.
Default parameter settings at factory: output voltage set to 14.2V; output current set to 20A (1-20A adaptive); MPPT voltage set to 17V.
Package Included:
- 1 x Power Supply Module
Note:
- Battery is not included.