| Quantity | 3+ units | 10+ units | 30+ units | 50+ units | More |
|---|---|---|---|---|---|
| Price /Unit | $7.13 | $6.99 | $6.77 | $6.48 | Contact US |
 M5Stack Paper S3 E-Paper Display Touchable Low Power Consumption 4.7-inch E-ink Display Development Kit ESP32S3
$87.42
M5Stack Paper S3 E-Paper Display Touchable Low Power Consumption 4.7-inch E-ink Display Development Kit ESP32S3
$87.42
 LILYGO Grey Shell Version T-Display-S3 1.9-inch LCD Display Development Board WiFi Bluetooth5.0 Wireless Module for Arduino
$32.47
LILYGO Grey Shell Version T-Display-S3 1.9-inch LCD Display Development Board WiFi Bluetooth5.0 Wireless Module for Arduino
$32.47
 Sketchboard Mechanical Arm Plotter Robot Arm Students Programming Learning DIY Kit for Arduino
$44.05
Sketchboard Mechanical Arm Plotter Robot Arm Students Programming Learning DIY Kit for Arduino
$44.05
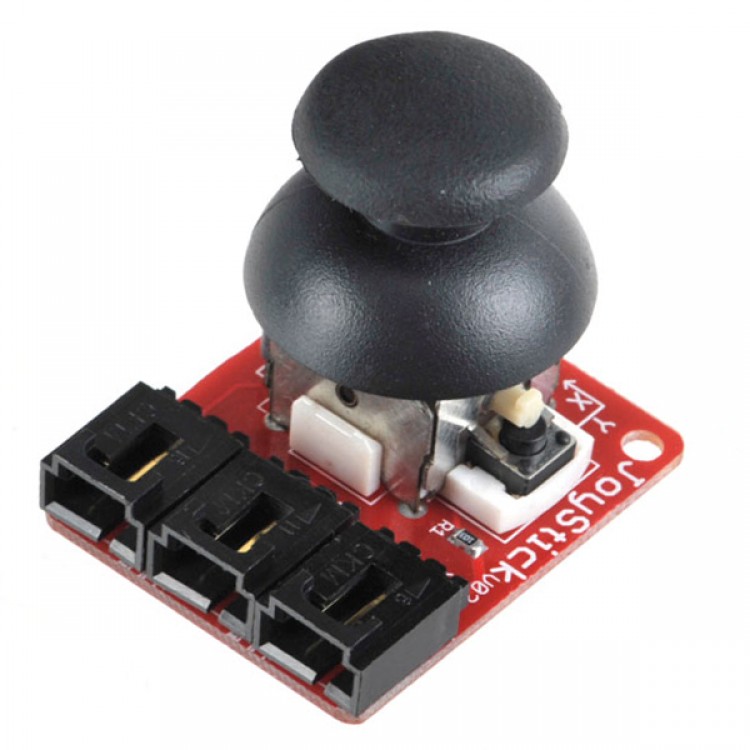
Arduino JoyStick Module for Sensor Shield
Just like a joystick on game console. you can contol x, y and z dimen input by this joystick module.It can be considered as combination of potentiometers and one button.Data type of the x, y dimensions are analog input sigals and z dimension is digital input signal. thus the x and y ports connect to analog pins of Sensor Shield, while z port connects to digital pin.
On the principle, the control rod can be considered that it is organized by the two potentiometer and a button:
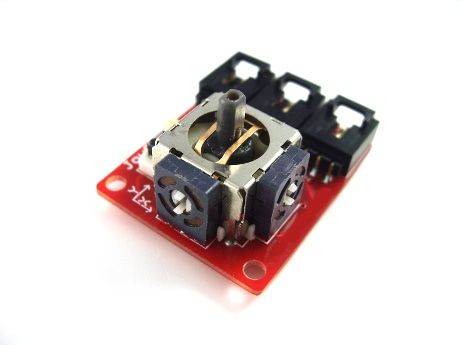
Two of the input value of potentiometer are respectively to show the user offset in the X and Y axis, and the type of offset is analog;the button is used to show whether the user push down button in the Z axis, its type is the digital quantity. Therefore the control rod contain a total of three input interface which are used to connect X, Y, and Z:
When using, it can connect with Arduino sensor shield,and connect Arduino corresponding pins through Arduino sensor cables. In the example below, the X axes and Y axes are respectively link to the analog input A1 and A0 ,and Z axis is connected to the digital I/O 7 pin:
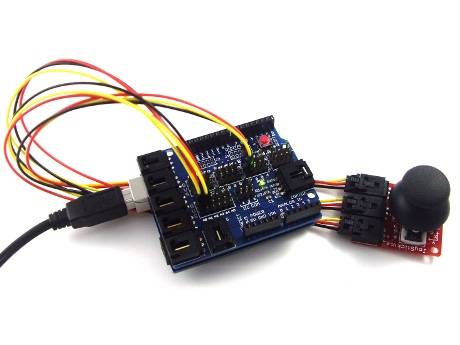
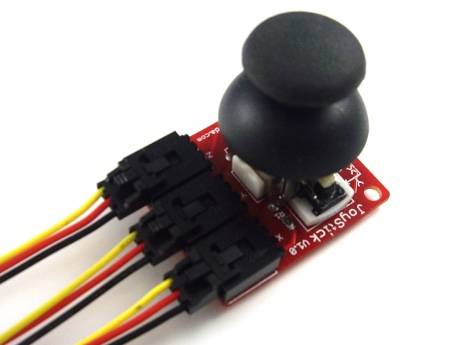
When connecting to Arduimp sensor shield,you need Arduino sensor cables (15cm / 30cm / 60cm / 100cm / 200cm optional)